Kit List: How To Record Business Quality Videos Using An IPhone In Just A Few Minutes
Kit List: How To Record Business Quality Videos Using An IPhone In Just A Few Minutes
Step 1: Decide on your location
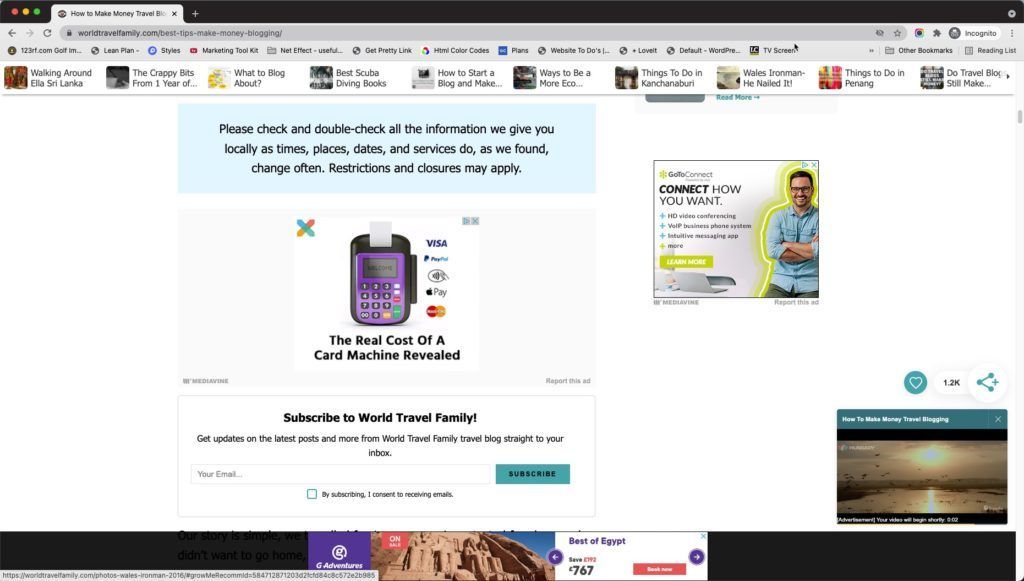
My Office looks pretty good – the below screenshot is me sitting in my office – but to get the right background I have to set up the TV screen, make sure it shows something vaguely indiscript and then get someone to focus my DSLR camera. That all takes time and so I find that using a green screen is a really good way of being able to record video quickly and easily.
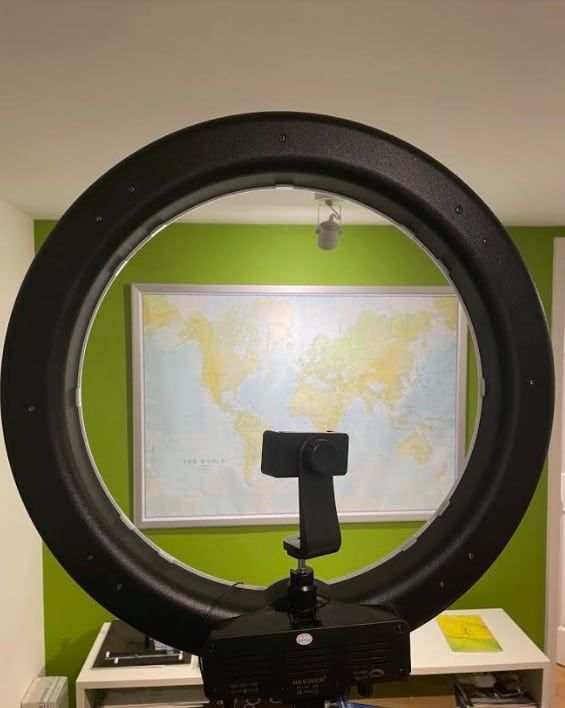
So in order to easily record I have a wall painted green which I hang a map on for when I am not recording
This is the wall I stand in front of ( having taken off the map). The circular object is my Ring Light – more of that below.
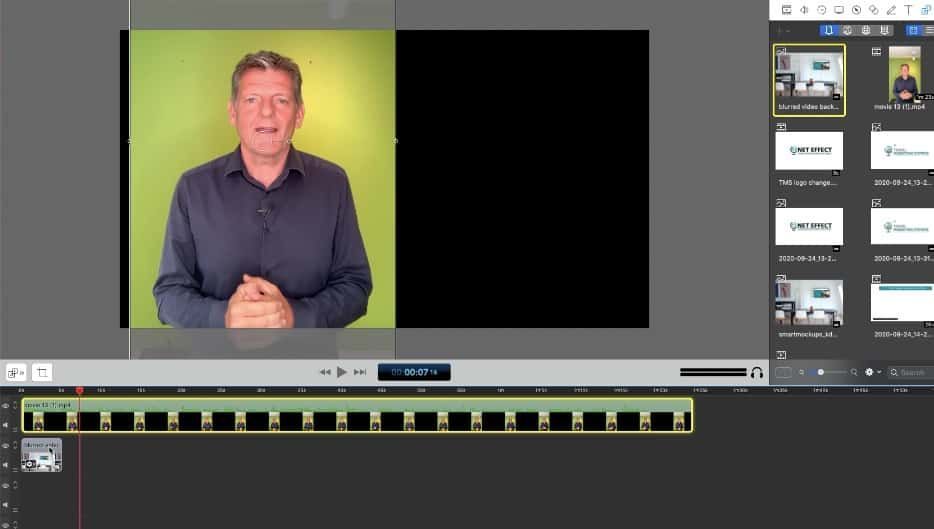
The Video below shows a clip of how I turn a recording of me talking to camera ( iPhone) into the video you saw at the top of this article.
Looks pretty simple right? Well it is and if you keep a space all set up it’s even easier. Of course, if you don’t want to use a green screen it’s an even quicker process.
Step 2: iPhone Kit List
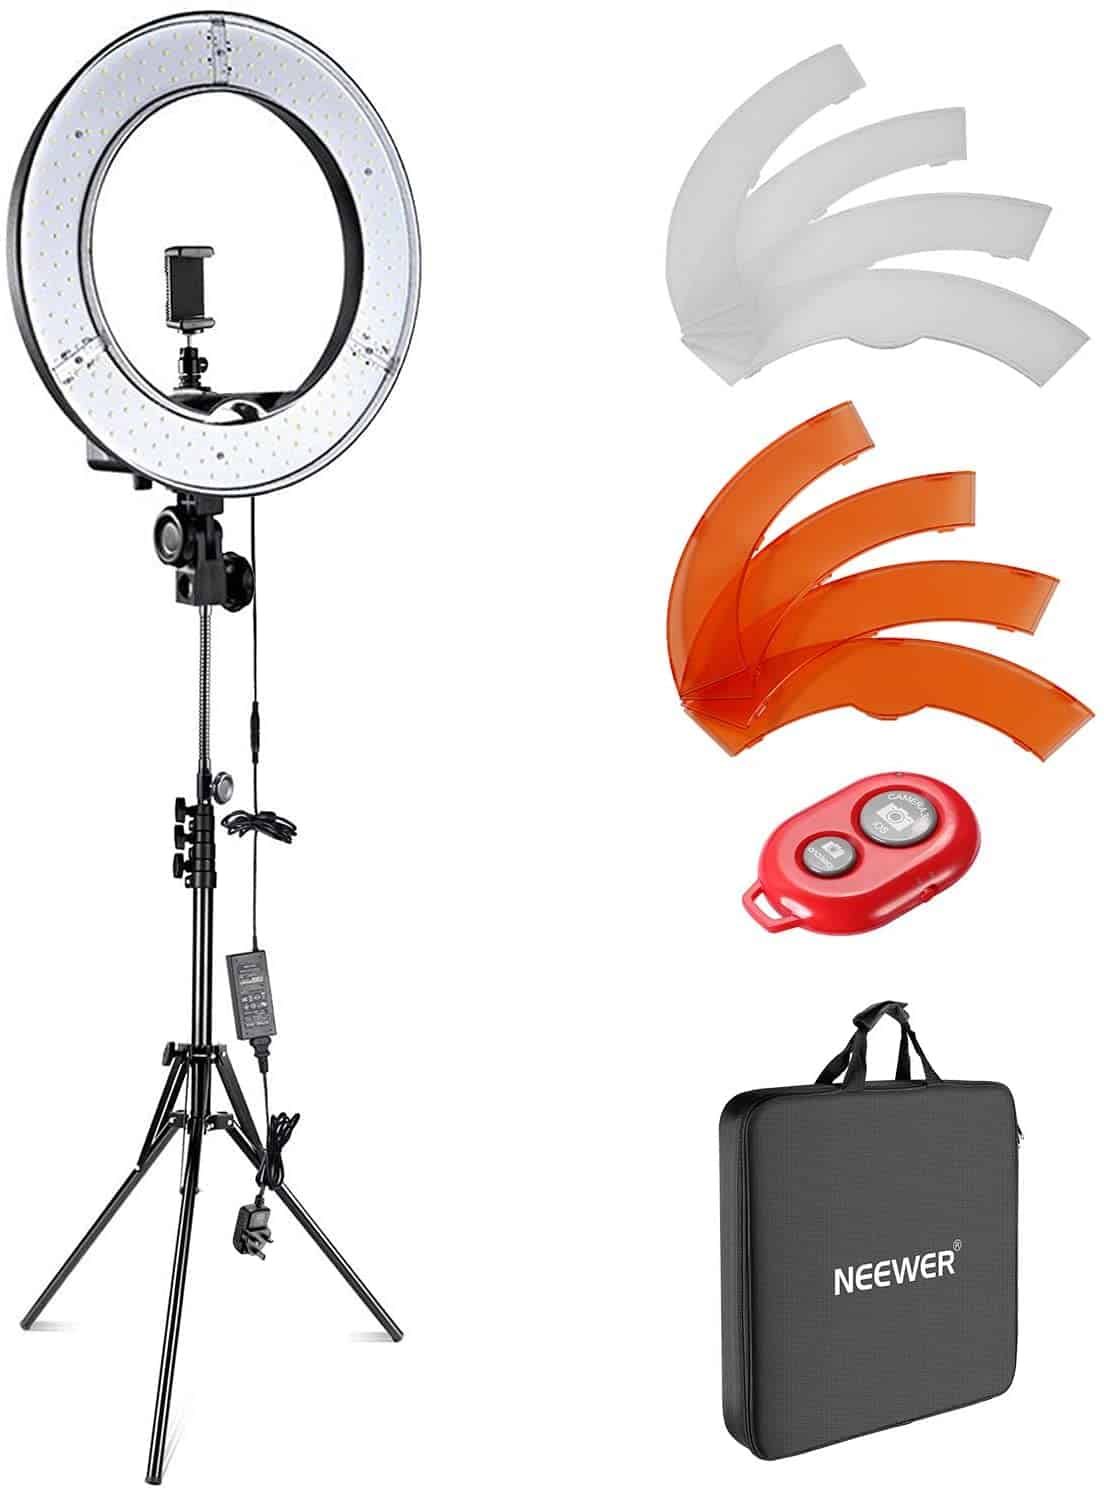
Lighting : I find that the Newer 18 inch Ring Light is the quickest and best lighting rig for a quick video. Click on the image for more information. Alternatives include buying numerous lights and setting up a mini studio. With the Newer Light it’s one light and easy to pack up and take with you.
Sound | Microphone: This is more important than you would ever think. In some ways I think it’s more important than the video quality. Let me explain why using two examples.
I’ve tried lots of microphones and settled on ‘Rode’ microphones as the best. I have 4 but only use two. One is connected to my Mac for making screencasts and one for videos.
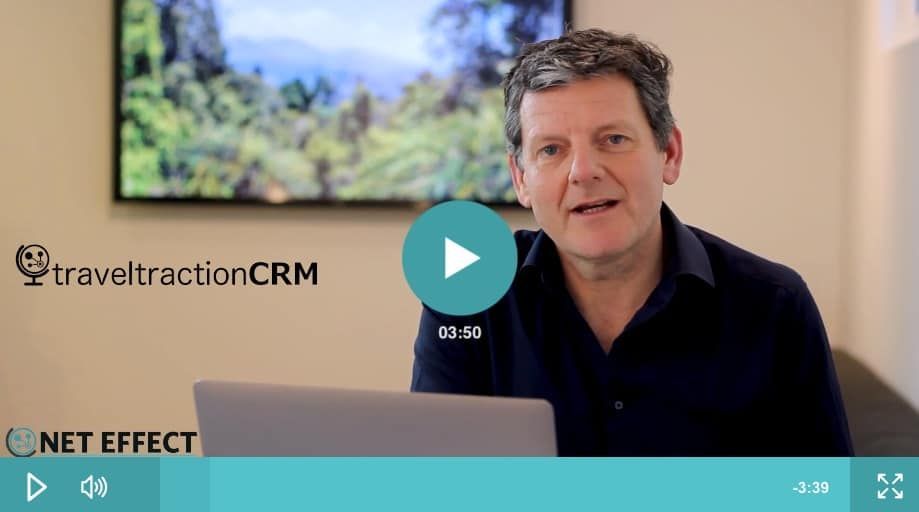
Consider the two videos below: This first one the lighting and image quality is better – it’s shot with a DSLR and studio lighting and a 50mm lens. It took hours to set up ( + the services of my son for setting up the camera) and I used a Rode Pro Compact Directional Microphone . Note how the sound is slightly tinny due to the microphone being situated some distance from my mouth ( why I think lavalier microphone work better)
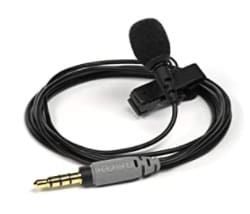
Compare that with this video using the Rode Lavalier Microphone which is a third of the price of the microphone I used in the first video
People watching your videos will do so for more time as sound has a huge impact on enjoyment. So I recommend you buy the lavalier microphone for £45.
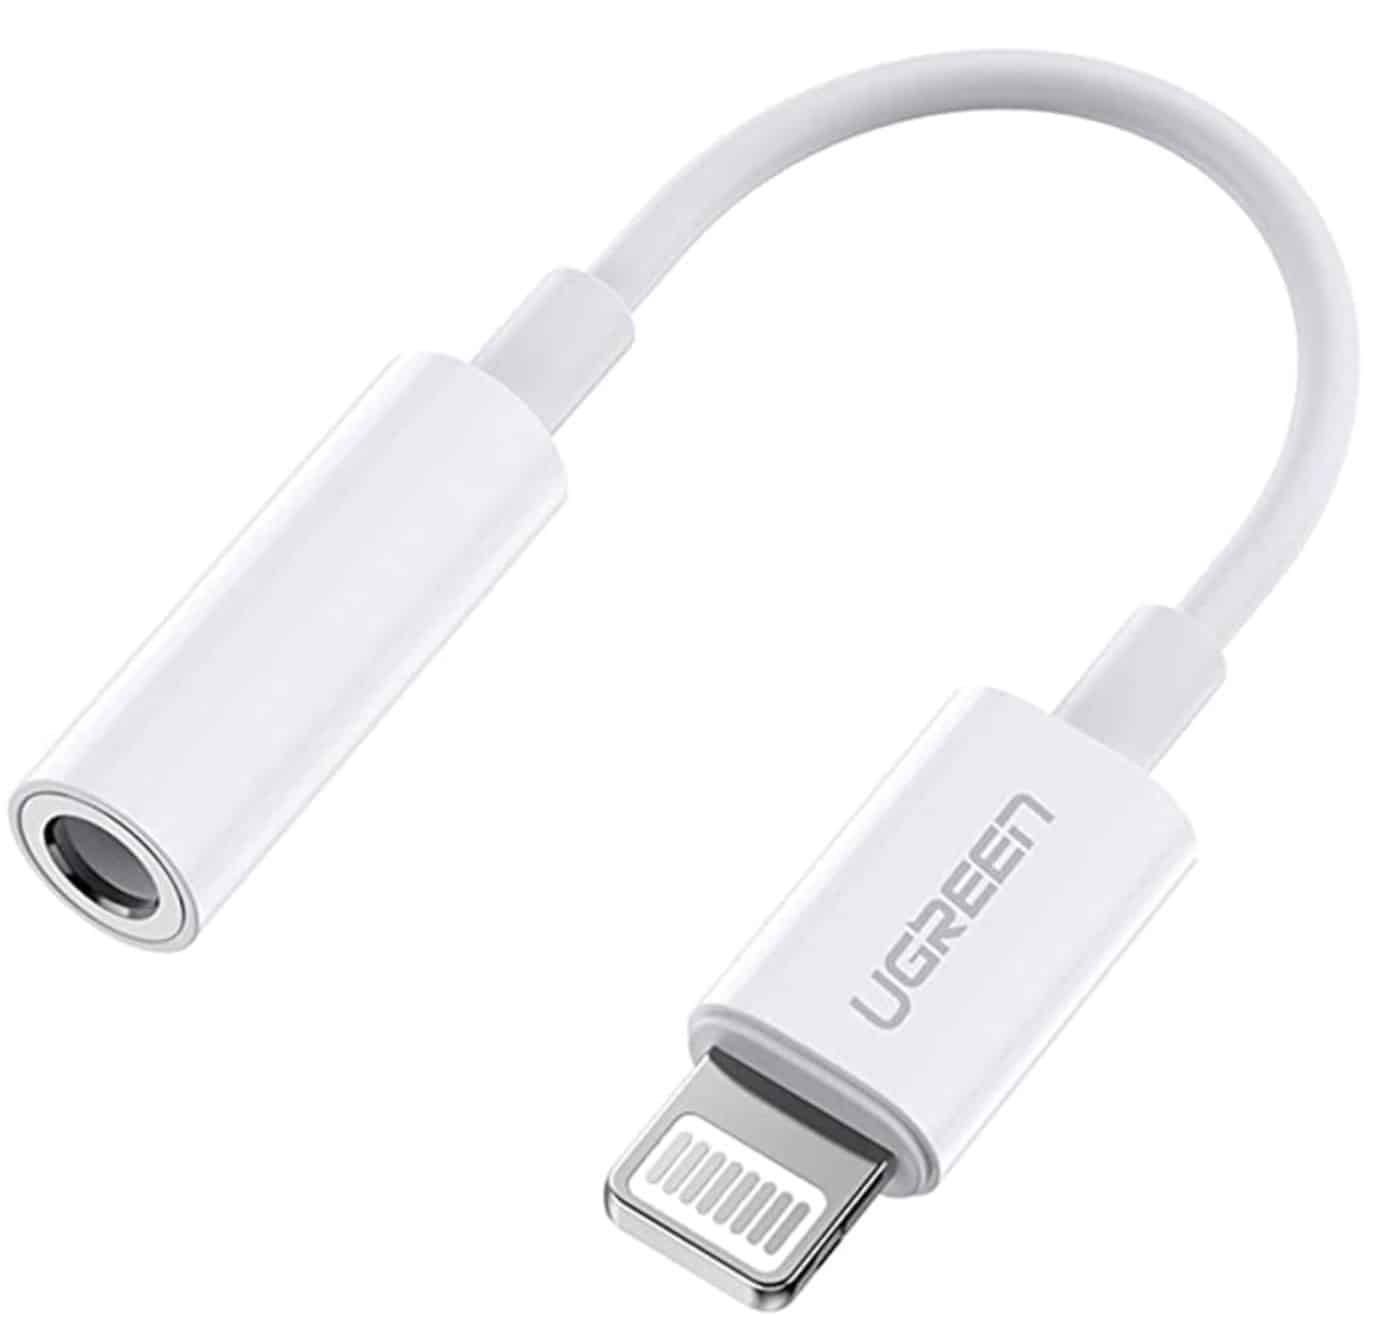
If you have an iPhone with a lighting connector the only issue you will have will be the microphone won’t work with your phone. So you’ll need to buy a connector
…. and if you really want to splash out, go wireless with the Film Maker Kit , but it will set you back £300 >>
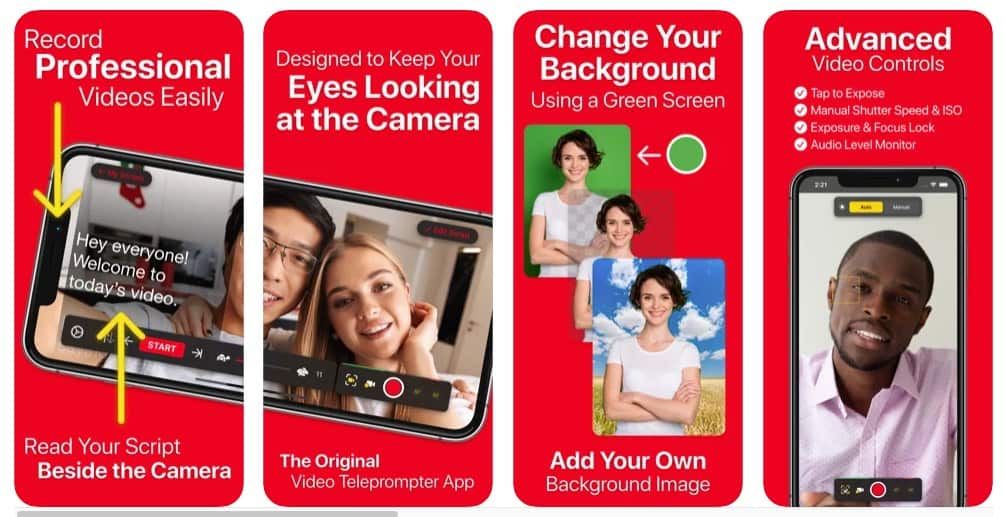
Teleprompter: iPhone teleprompter – this is the best one I have used – and there is now a companion Mac app. It enables you to read while recording and it looks like it’s entirely unscripted : https://apps.apple.com/us/app/video-teleprompter/id1444106389
Virtual Backgrounds
We all live messy lives – some more than others. Even if you are tidy it’s amazing what a photo will show up so sometimes it’s just easier to use a Virtual Background.
I use backgrounds at ‘Smartmockups‘ as it enables me to upload a screenshot and place on a TV screen but you can also find ones you can’t add your logos’ screens to at Unsplash

Writing Scripts
I create my script in google docs and then copy it across on my iPhone. The App developer has just brought out a mac desktop app so you can sync iPhone and Mac more easily but I have not used it yet I I just copy the script in on my iPhone.
Writing a script and using a teleprompter stops all the ‘ups and ahs’ that inevitably happen with an unscripted piece ( or you just ramble which can be boring). It’s well worth spending the time scripting.
Render Video Kit List
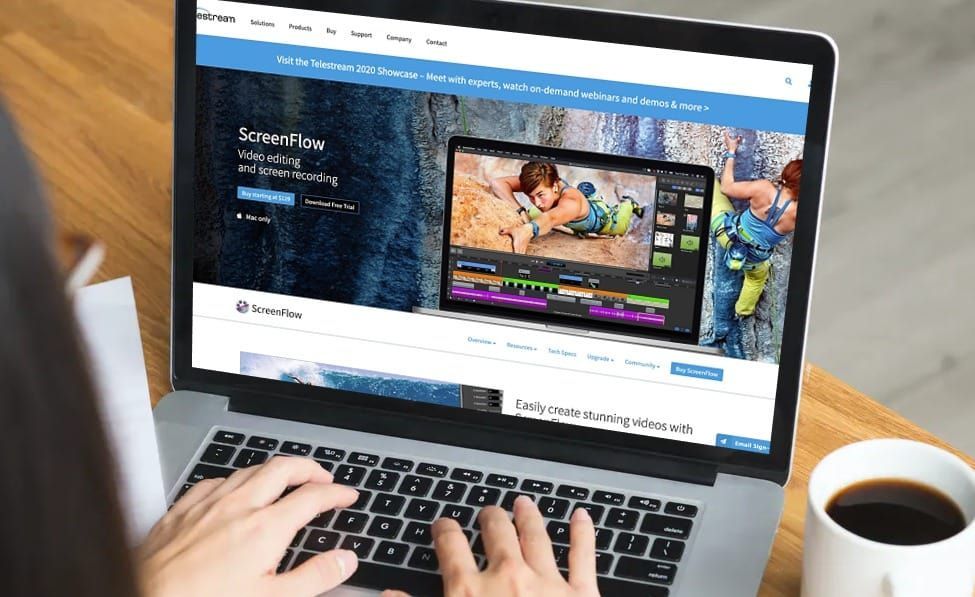
Making the Video: Adjusting video / adding slides / extra videos / splices etc. I use this http://www.telestream.net/screenflow/overview.htm but you can also use iMovie or similar if you prefer. Screenflow is a one off cost and I’ve used it for years so if making videos is going to be an important marketing channel for you ( and it should be) then the $129 is well worth the investment.
Both are quick to learn – and they render in 1080p resolution meaning you’ll get that great sharp look to your videos ( cheaper alternatives only render at 720p which does not look as sharp ( i.e. not as professional)
Once completed it’s time to upload.
Upload to Youtube
The big advantage Youtube has is that:
1. You can make videos private ( only accessible with a link), hidden or public. This enables you to use your account as a video library and only have videos you choose as public searchable. You can still link to private videos if you do want to share them with select people.
2.. Most website CMS systems ( like WordPress) enable easy adding of Youtube videos to a page.
It takes a while to get used to doing the video’s – but once you’ve mastered it gets quicker. For a 3 minute video I do it takes me around 30 minutes to write it, 20 minutes to record ( and then re record as first take never any good!) and then around 45 mins to add other elements in Screenflow.
I then upload to Youtube Studio ( everyone with a youtube account can have this) and save as a non public video that needs a link to access ( so that no one can see it unless I send the link) or of course, make it a public one if I am happy for it to be on my feed.
For Emails
I use https://gifrun.com/ ( its free) to make a GIF ( which is a moving image, not a video) that you can add to an email which makes it look like the video is embedded. When you add the Gif you’ll need to link to your Youtube video. This helps show users reading your emails that its a video and you’ll get more clicks / engagement.
Conclusion
I’ve tried a lot of kit out and the above seems to me to be the best any small business needs produce professional quality videos, without spending a fortune.
It may seem odd talking to camera at the beginning. It did to me, but you get used to it and it becomes second nature in the end. Keep practising – and send me the results when yuo have any.


Sign Up for our Marketing Tips
Our aim is to provide advice and tips to help you grow your business. We won't spam you and you can unsubscribe at any time
CONTACT US
hello@travelmarketingsystems.com
LEGAL

Cookie Preferences